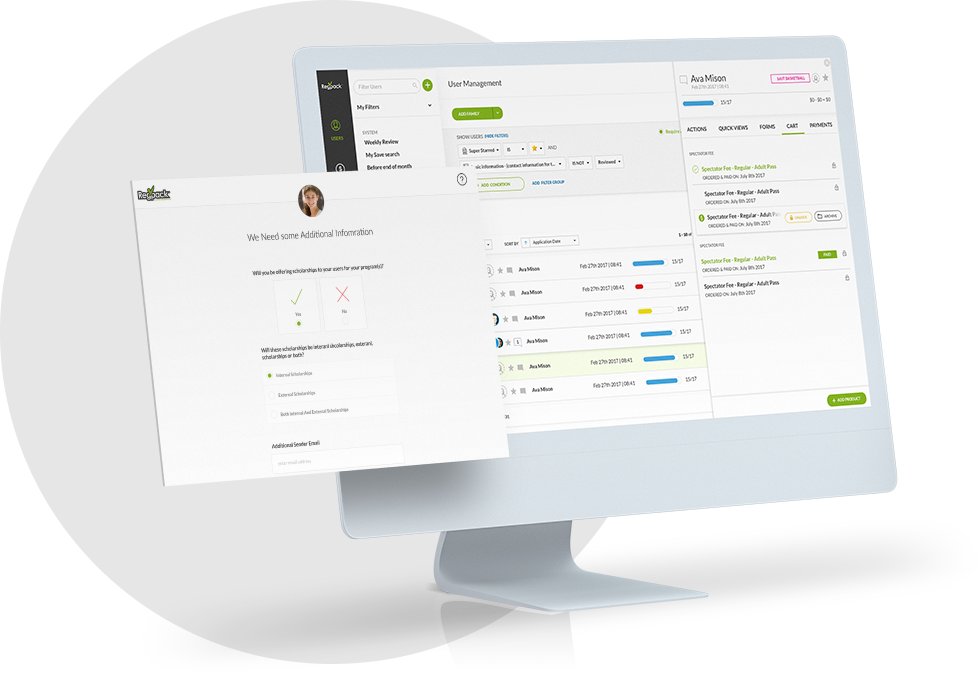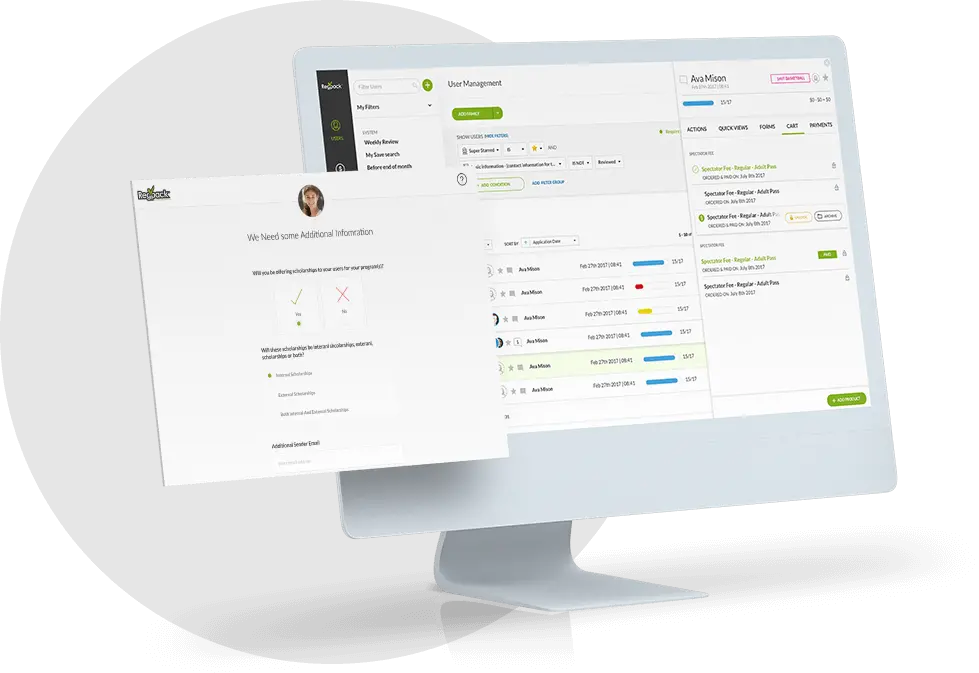
Filters give you a quick way to find a group of users based on an answer to a question, form, status, product, assigned admin, and more. Here’s a look at the Filters interface for Regpack’s Online Registration Software.
- Simple Mode – When you click on the Filters button, the Simple Mode shows any saved filters on the left, and the 5 most recent filters on the right. This allows you to quickly find the filters that you use most often, and switch between the filters that you’ve been using recently.
- Advanced Mode – Advanced Mode gives you all of the tools to create new filters. The options are organized using easier to read menus.
- Drop-Down Menus – You can filter on multiple items in the same drop-down menu. Just select the answer that you’d like to filter on, and then select another item from the list to expand your results.
- Search – If you have a complex registration process, finding the field you want to filter could be time consuming. There is a search box in filters to help you quickly find the field or form that you’re looking for!
Take a video tour of the new filters interface:
Click the cc button to turn captions on and off. There’s also a complete transcript of the video below. Stay tuned for more video tutorials on how to use all of the great features in Regpack! Find more filter updates here. Learn more about viewing statistics with Regpack here.
Filters Video Transcript
Welcome to RegPack. In this video we’ll show you how to use the filters module. Filters give you a way to quickly narrow down the users that you’re viewing on the User Management page. Need to find everyone who hasn’t paid or see all of the users with a certain status? Filters makes this easy. When you click on the Filter button, you’ll see any saved filters under My Filters on the left, and the most Recent Filters that you’ve used on the right. Click on any filter to run it.
When you’re done with your filter you can use the gray clear button to the left of the filter name to clear the filter. To create a new filter click the Filter button, and then go to Advanced Mode. Let’s create a filter on a User Status by going to the Status menu and selecting the Review status. Then just click Apply Filter. I’ll now see everyone that has the status Review. I can run reports, or contact these users, and when i’m done i can clear the filter using the grey button to the left of the filter name.
Let’s create another filter. I’ll go to Filter, Advanced, and then go to Forms. Let’s find everyone who has completed their Personal Information form. And let’s say that I only want to find female applicants. I’ll use the back button to go back to the Filter menu and I can browse through the fields until I find the question I’m looking for.
Or i could use the new search feature to find the question more quickly. Here I’ve just typed in female and found my question. And I’ll add female to the filter. When you filter on more than one piece of data the default setting is all options are required. This means personal information is complete, AND gender is female both have to be true.
The any option is sufficient setting gives you more general search. This means you would see results for any of the options above. Let’s click Apply Filter to see the results. Another cool new feature is filtering on multiple items in a list.
Let’s make a new filter on a product. I’ll go to Application Fee and select everyone who has paid the Application Fee. And let’s say I also want to find people that have the Application Fee locked in their cart.
You can see on the right i’ve selected both Application Fee paid and Application Fee locked. Let’s apply the filter. And now we’ll see people that have the Application Fee paid for in their cart and also where the Application Fee is locked.
If you’re going to use this filter again you can save it for easy access. Click on Save Filter give your filter a category to stay organized and a name. The default is that all the admins in your account will be able to use this filter. Or you can select only for me and then only you’ll see it. Let’s click Update, and then we’ll find our saved filter under My Filters. When you’ve run a saved filter the i button appears to show you what the filter is doing.
You can also click the Edit button if you want to change the category, filter name, access, or delete the filter. We hope you’ve enjoyed learning about the new features in the filters module. If you have any questions you can contact your account manager. And, as always, thanks for watching!